Parrot AR Drone 2.0
For my 41st birthday, I asked for (and received) a Parrot AR Drone 2.0. Yes, my birthday isn’t until the end of next week. Now that I’m over 40, I can open presents early if I want.
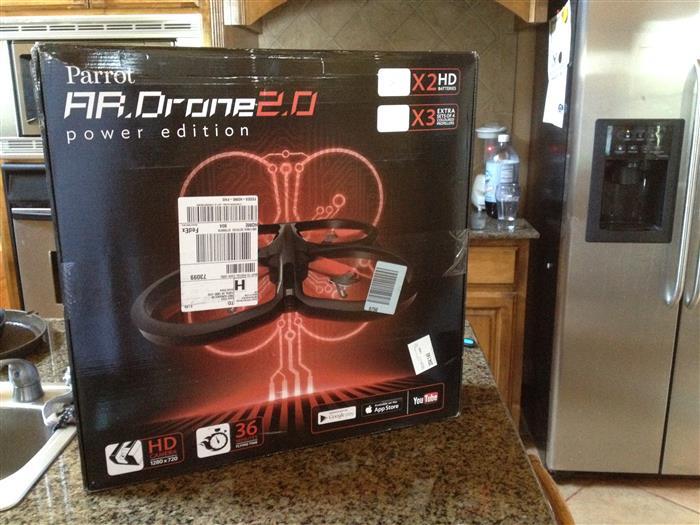
Starting at $300, the Parrot AR Drone 2.0 (“Parrot 2” hereon) is an intermediate level drone. There are several smaller toy drones in the sub-$100 range, and lots of “toys for big boys” drones in the $1,000+ range. The only comparable to the Parrot 2 is DJI’s Phantom, which runs $499 without a camera and $799 with a camera. $300 seemed more sensible for a first-time drone owner, so I went with the Parrot 2.
For roughly $50 more you can get the Power Edition — same drone, but with two larger batteries and three extra sets of propellers. I went with that one.
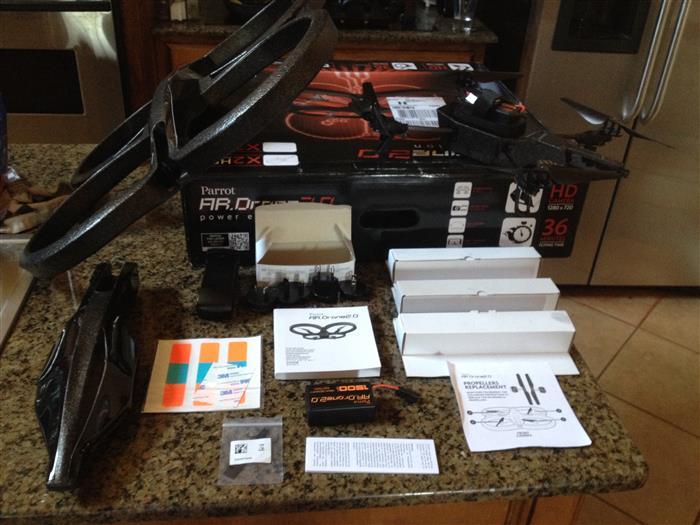
Here’s everything that came in the Power Edition package: the drone, an indoor hull, an outdoor hull, two lithium 1500 mAh batteries, a battery charger, some stickers, three additional sets of propellers (in orange, blue and red) and a manual with printing so small I couldn’t even tell if it was in English or not. (The manuals are online in PDF format here.)
Additionally, the Parrot 2 comes with two cameras (an HD 720p front-facing camera) and an SD down-facing camera) and a USB port. You can plug in a USB stick to record videos and pictures from your flights, or purchase additional USB add-ons like the GPS/black box.
Here is the drone with no hull attached.
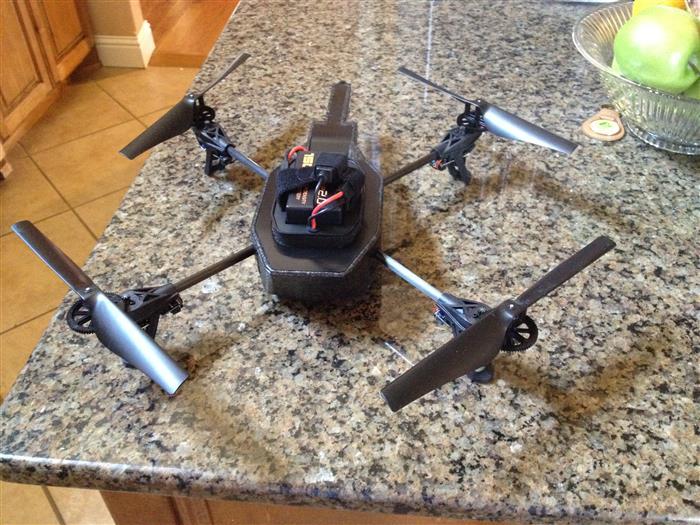
If you fly it like this, it will be broken in about 4 seconds. Here it is with the outdoor hull:
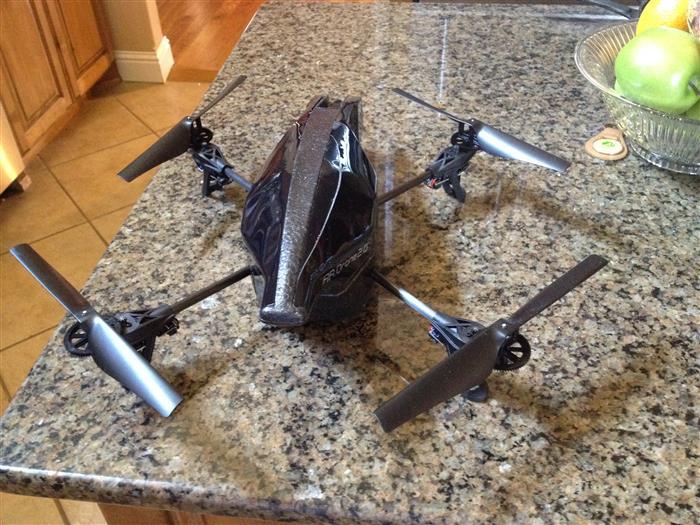
…and here it is with the indoor hull:
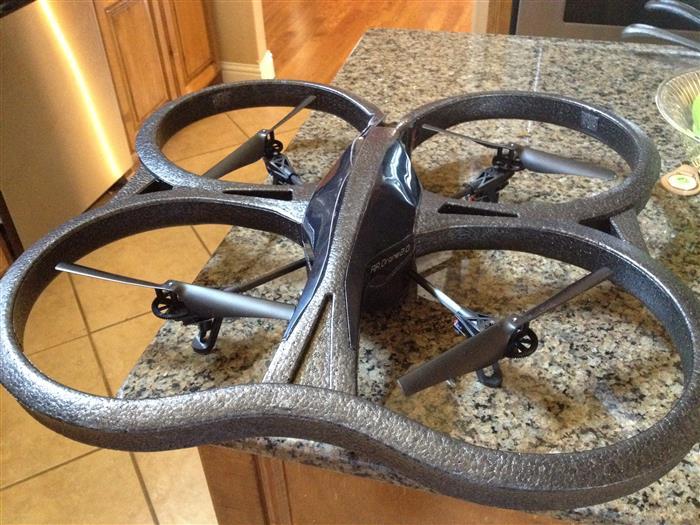
So far I have only flown the Parrot 2 with the indoor hull attached, and I’ll tell you why. First of all, without it, I would have broken many things in our house. Second of all, the majority of all my videos end with me smashing the Parrot 2 into something and having it land belly-side-up somewhere. The indoor hull has definitely saved my propellers from slicing against tree limbs, blinds, the ceiling fan, my face, two different flat screen televisions and the cat at least once.
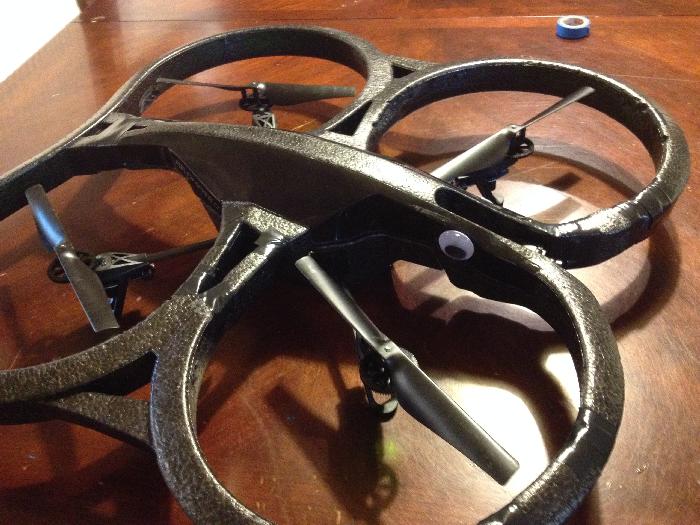
Unfortunately, the indoor hull is not designed to take a beating, at least not a beating of the level I’ve been dishing them out. My second crash resulted in a clean break of the styrofoam hull. I could not find any black electrical tape so I had to resort to repairing the hull with some white duct tape. An hour after owning the drone, my hull looked like this:
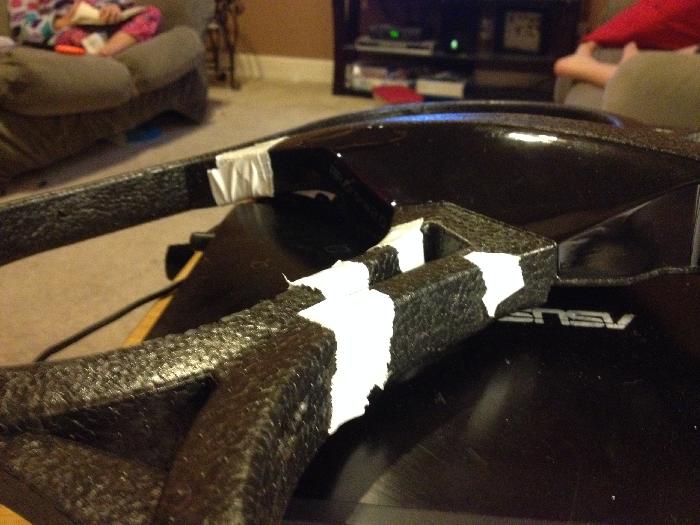
I have since removed all the white tape and replaced it with black electrical tape. Without tape, this hull would be in 5 separate pieces now. I’m afraid to fly this thing without one on. All things said, I have had some spectacular crashes (many from running into the ceiling fan (not running) 15′ in the air) and watching the Parrot 2 drop like a rock to the carpeted floor below. So far nothing has broken but I’ve only had it two days and I’ve been under the weather so I haven’t really put the thing to the test yet.
The Parrot 2 does not come with a remote — instead, you download a free app onto your iOS or Android device and that becomes your remote. Once powered up, the Parrot 2 actually becomes a wifi hotspot, so to start flying all you have to do is connect your device to the drone’s hotspot, launch the control app and you’re good to go.
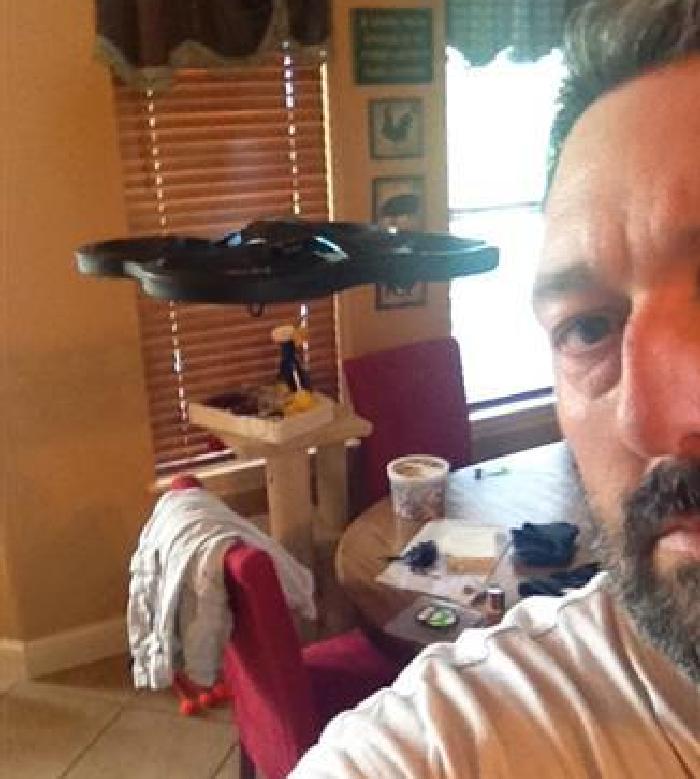
Most of my early flights took place in the house. The learning curve comes from (a) learning how to control the Parrot 2 with the app, and (b) keeping yourself oriented as to which way the drone is facing. Using the app, your right thumb controls moving up/down and turning left/right, while your left thumb controls moving forward/backward and tilting left/right. It’s very easy for your thumbs to drift from the control circles, resulting in having to take your eyes off the drone and looking down at your phone or tablet instead.
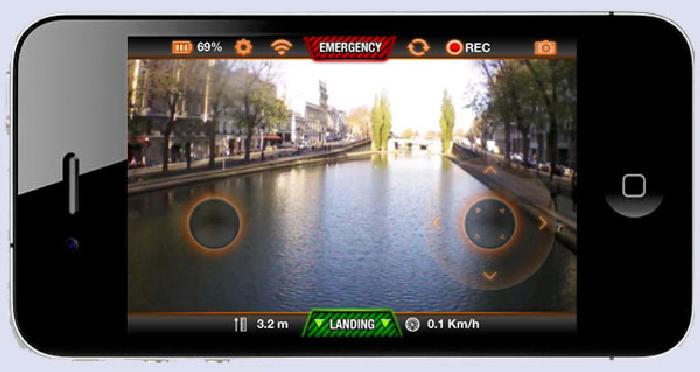
There are lots of buttons on the app, ones for recording video, taking pictures, changing the drone’s options, and so on. There are a couple of ways to land the drone: one is by pressing that green “LANDING” square in the picture above. That cuts the power to 50% and the drone will try and land wherever it is. There’s also the red “EMERGENCY” button at the top of the screen that simply cuts power to the Parrot 2, at which point it will drop out of the sky like a brick. Yesterday I could not imagine a reason to hit that button but after having the Parrot 2 almost blown out into traffic by a wind gust, I can see where it might come in handy.
It’s also occasionally difficult to figure out which was is forward (especially with the indoor hull on installed) which is why I glued a pair of googly eyes to the front of mine.
Because the Parrot 2 is so light it is very susceptible to wind gusts. Last night after the wind calmed down I took the Parrot 2 outside and was able to capture the following picture of my house:
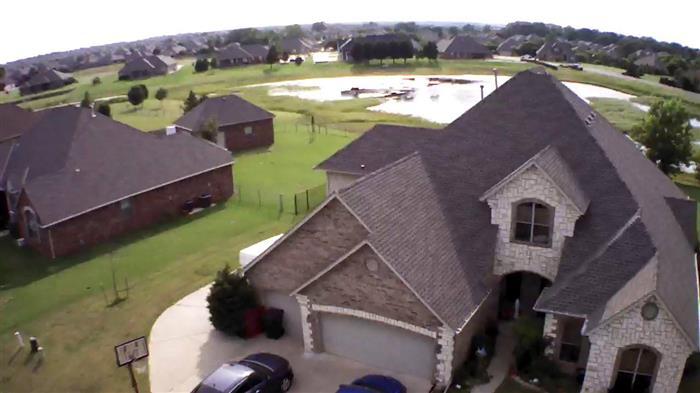
Five seconds later a wind gust blew the drone over my house and over my neighbor’s house, almost causing it to smash into their roof.
Here are a couple of videos I shot earlier using the Parrot 2. It never dawned on me that the Parrot 2’s camera would not record sound (only video) so I added some generic 8-bit music to it just because it felt very stark. I plan on attaching my Flip camera to it later tonight or tomorrow (if I’m not feeling better) and see if I can’t record two angles (along with some sound).
httpv://www.youtube.com/watch?v=rxXm0I8pDlY
httpv://www.youtube.com/watch?v=LQy1fOK-ag0
Almost immediately I need to order another battery and another indoor hull for my Parrot 2 (maybe with birthday money). I’d like to try flying the thing a little higher outside but I’ll have to wait until the wind dies down (and I get a little braver) before I do that.
EDIT: I forgot to mention how long the thing can fly. On a normal 1000 mHa battery, the Parrot 2 can fly for 8-12 minutes. With the 1500 mHa batteries I bought, you can fly for 12-18 minutes (each). The batteries take 90 minutes to fully charge. Also, the drone is able to fly high — really high. Even though the app supposedly limits the drone to 100m (roughly 330 feet) there are several videos on Youtube of people flying the Parrot 2 1,000 feet or higher (but not in Oklahoma wind…)